


Have you ever taken a photo and then looked at it later and wished you didn’t have the leash in the photo? Don’t worry…it’s quick and easy to remove it in most cases!
Whether you’re using Photoshop or an online editor, you’ll want to select the Clone Tool. Using PicMonkey, you’ll see it in the Lipstick selection of touchup options:


Select the Clone tool then you’ll see a menu to select the brush size and the brush hardness. Choose the brush size based on how large of an area you need to touch up. Choose the brush hardness based on how exact you need to be. If the brush hardness is low, the sampled area can bleed over into the area you didn’t want to touch up. If the brush hardness is high, the edges of the sampled area can be very obvious when you make your touch up.
You also see an indicator to choose the portion of the photo you want to clone. Look to the left of Irie’s shoulder…you’ll see a white dotted circle with a cross in the middle. Move that indicator around until you have it very near the area you want to touch up.
I moved the indicator to Irie’s shoulder so I could sample the portion of the photo just to the left of her leash. I sampled the road then started the cloning process, pasting it over her leash…


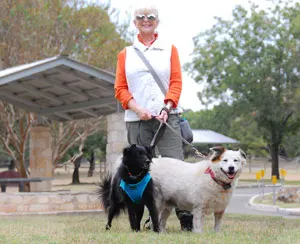
It takes some trial and error. Don’t just hold down the cloning tool and drag it; it will pick up and mirror portions of your photo as you go. Instead, think of it as painting on dots on your existing photo. As you move down the leash, sample the adjacent area again…you’ll see in the finished product below that I sampled Tiki’s fur and removed her leash, too.


It’s quick and easy…and if you mess up, you can always start all over again!


- Who are the Top Pet Influencers and Should Your Dog Join In the Fun? - April 10, 2024
- Should Dogs Sleep on the Bed? - April 9, 2024
- 10 Spring Cleaning Tasks for Dog Homes - April 9, 2024