
15*365: Understanding Selective Focus

This morning I popped outside to take some photos for a review I was writing of Gringa Loka dog treats. (Yes, this is Tiki and Irie’s favorite part of their jobs!) The above photo that I used in the review is an example of working with selective focus to get the most out of your photo.
In a nutshell, selective focus means choosing what item in your photo you’d like to be in focus. In the above case, it’s the treat. You’ll see that Irie’s not in focus. Because the depth of field in this photo is shallow, only a little bit past the point of focus (the treat) is in sharp focus.
But that’s just what I wanted. I wanted the treat to be the focal point of the photo. Irie (who’s looking very anxious for that treat) is out of focus but still very important to the photo.
I could have focused on Irie instead. Here’s a photo I shot with the focus off of the cookie:

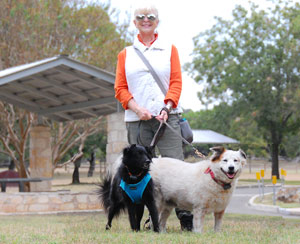
That photo (which was an accident…you can see that her collar is in better focus than her eyes) would work if Irie were the focal point of the story but, since this was a post about the treats, the top photo works better! Of course, you can play around with the placement of the item in the foreground and your dog in the background, like this photo I shot later of another kind of treats (Pawmetto):

Just be careful of the cookie monster!

I was so busy looking through the viewfinder, that I didn’t see Irie coming over to do a little treat testing!
Give selective focusing a try, whether you use a dog toy or treat or two dogs at different distances from your camera! And be sure to leave us a comment below and attach a photo using the + link to share the fun!
- Shakespeare Dog Names: 200+ Literary Names from the Bard - February 20, 2026
- Make a DIY Snuffle Box - February 18, 2026
- Review: Outward Hound Hide ‘n Slide by Nina Ottosson - February 15, 2026
